Like most of the planet, we love to take photos of memories. But when we come to print them, its not as vivid as we remember or it’s too zoomed out. Not to fret, we have you covered! In this blog, our own Graphic Designer is here to help you get the most out of those snaps!
1. Choosing the right photo

We all love to get a bit snap happy when we’re on holiday, at a party or even on a Sunday stroll! The most important part is sifting through those photos to find the one we want to work on. We need to make sure of a few things, to know we have the perfect photo!
1. Is the photo clear? Blurry photos are hard to edit and don’t look good.
2. Is the subject the focus? It could be a loved one or a pretty flower, you’ve got to make sure there is nothing in the way or to distract the viewer from what you want them to focus on.
3. Do you like the photo? At the end of the day you have to like your own work! So choose one that makes you smile!
2. Cropping
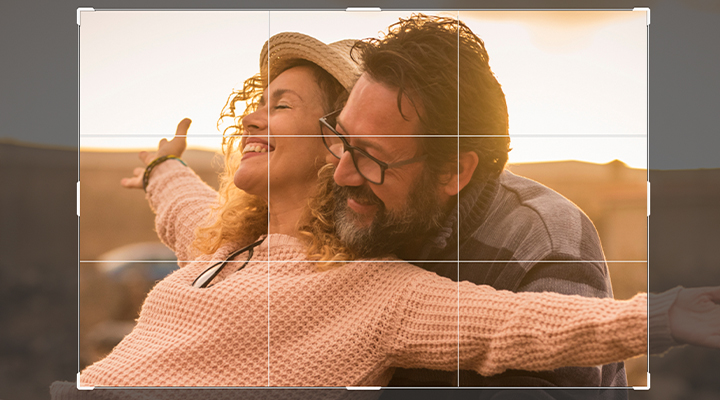
The best tip I’ve ever learnt when it comes to photography is take the photo then crop later. This is because when you go to frame or place the image on something, you might need that extra space around it. It’s easier to remove than it is to add, it takes years of practice to get it looking right, so make life easier for yourself and save the cropping for the editing stage!
Usually cropping is used to make the image the right size for the final product, it can also be used to centre an image or remove any unwanted distractions to the side. It can also help draw focus and emotion to a certain part of a photo, consider this when you are cropping, what are you trying to say?
3. Color Correction
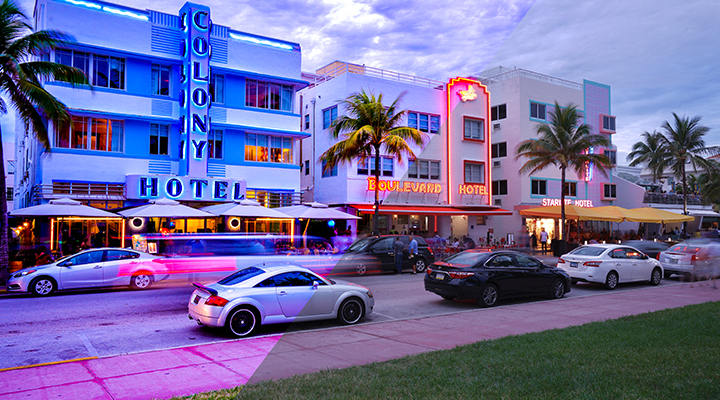
Phones having cameras attached to them is possibly the best thing to happen since sliced bread, however, they can’t always capture the beautiful, rich colors that nature and life has to offer! This is where photo editing software comes in to help!
With free editing software such as Pixlr or Canva you can easily fix photos to bring that color back to it! Usually there is a button that does it automatically, but it’s not always 100% right. This is where you get to have fun and make mistakes, just play with the sliders and percentages until your image pops!
4. Presentation
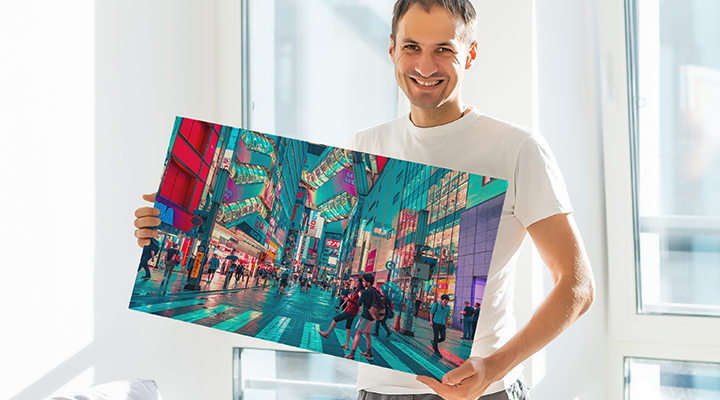
The final stage is getting it ready for however you want to show off your beautiful photo. If it’s for social media or to be printed on a high quality canvas, you want to make sure it’s the right size, that can make the difference between a low quality, pixelated image or a high quality museum ready print, be sure to check the requirements of where you’re presenting the image and that it will produce the best outcome.
