
You’ve created your custom canvas print and now it’s time to show them off. However, if you’re new to this, the process might seem a bit daunting. No worries, our handy guide will simplify the task and make hanging your canvas print enjoyable. It’s time to refresh your home with personalized artwork!
1. Gather Your Tools
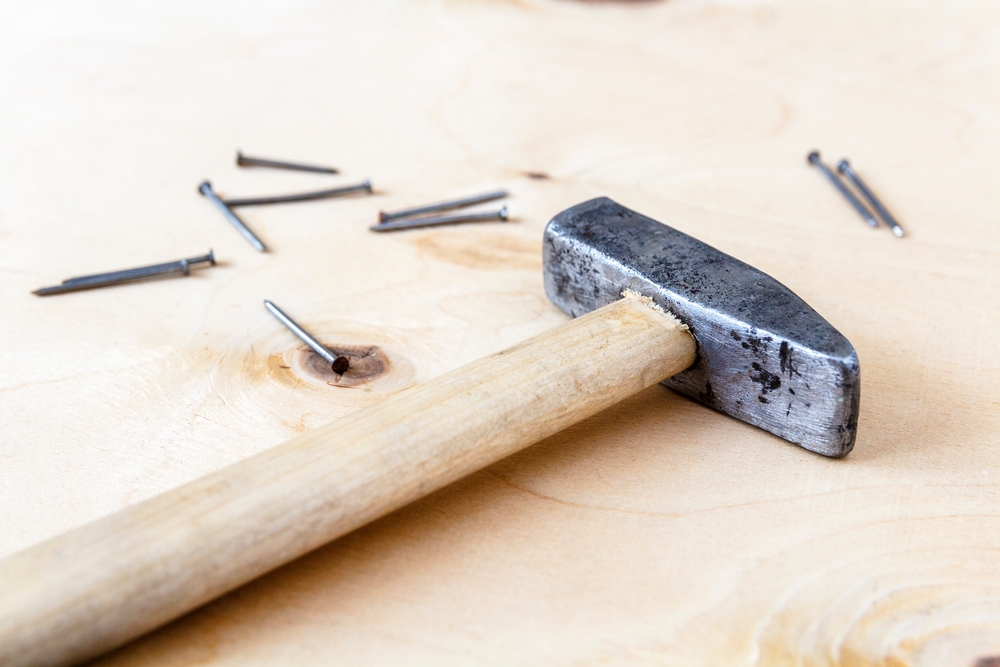
Before you start hanging your canvas print, make sure you have all the necessary tools on hand. Here’s a list to get you started:
- Canvas print(s)
- Hammer
- Nails
- Sawtooth hanger (comes in our ‘Ready to Hang’ kit!)
- Pencil
- Ladder or step stool (if necessary)
2. Decide on the Layout
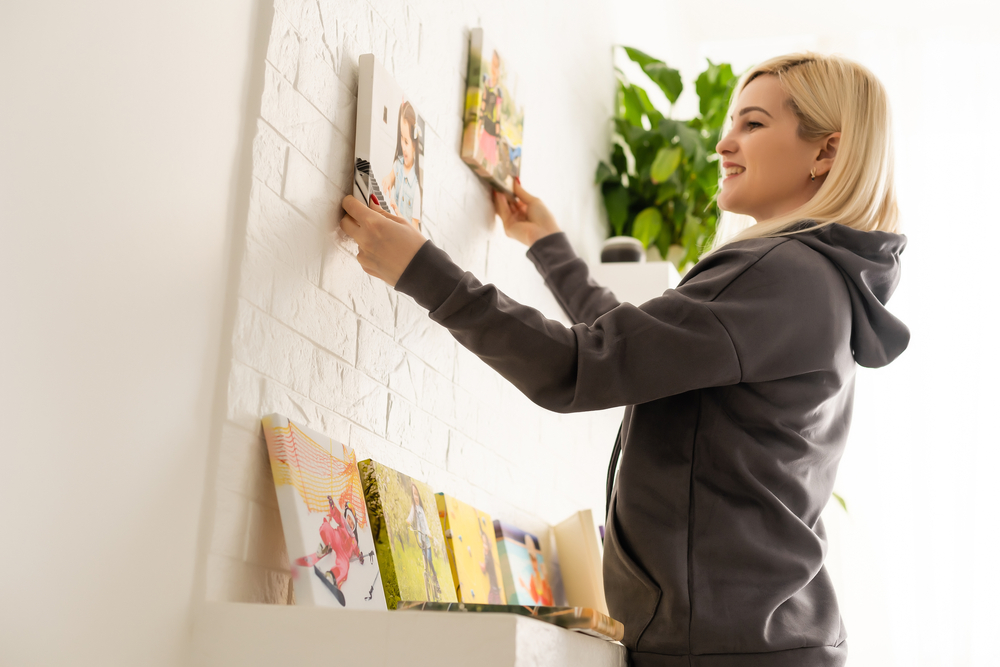
The most crucial step in hanging canvas prints is deciding where and how you want to display them. Consider the size and color scheme of the canvas prints and how they will fit into the space. Remember, balance is key. You could opt for a symmetrical layout for a more formal look, or an asymmetrical arrangement for a more relaxed, organic feel.
You might want to try the ‘gallery wall’ approach if you have multiple canvas prints. Lay them out on the floor before you hang them, experimenting with different arrangements until you find one you love. You can even snap a picture of your preferred layout to refer back to when you’re ready to hang!
3. Measure and Mark
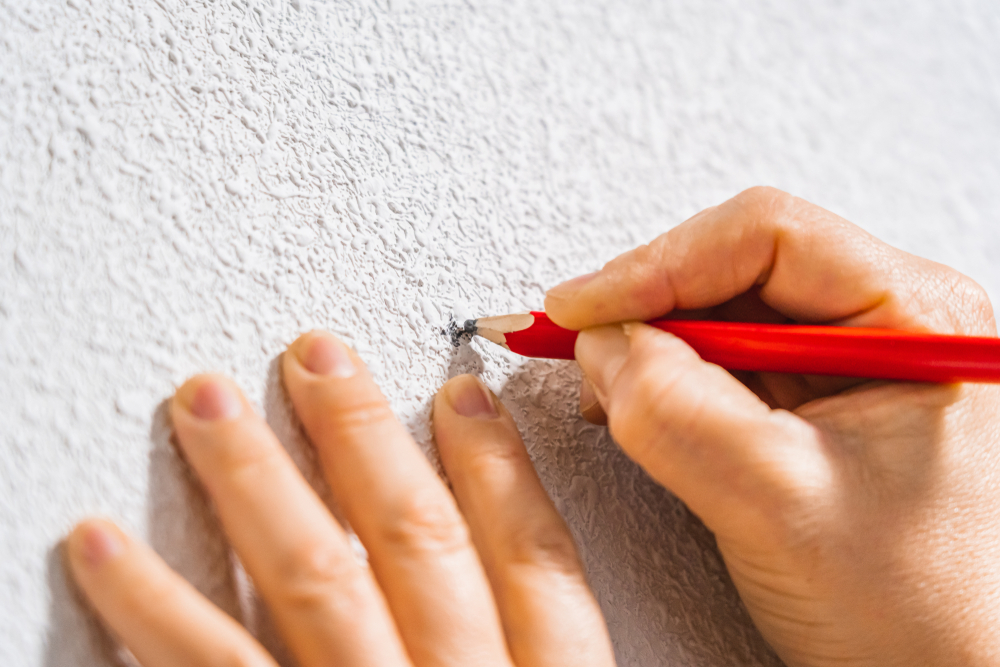
Once you have decided on a layout, it’s time to measure and mark. Use a pencil to mark the spot where you want to hang your canvas print lightly on the wall.
Top tip: When deciding on the height, a good rule of thumb is to hang your personalized artwork so its center is at eye level. In many cases, this means the center of the picture should be around 57-60 inches from the floor.
4. Hammer the Nails
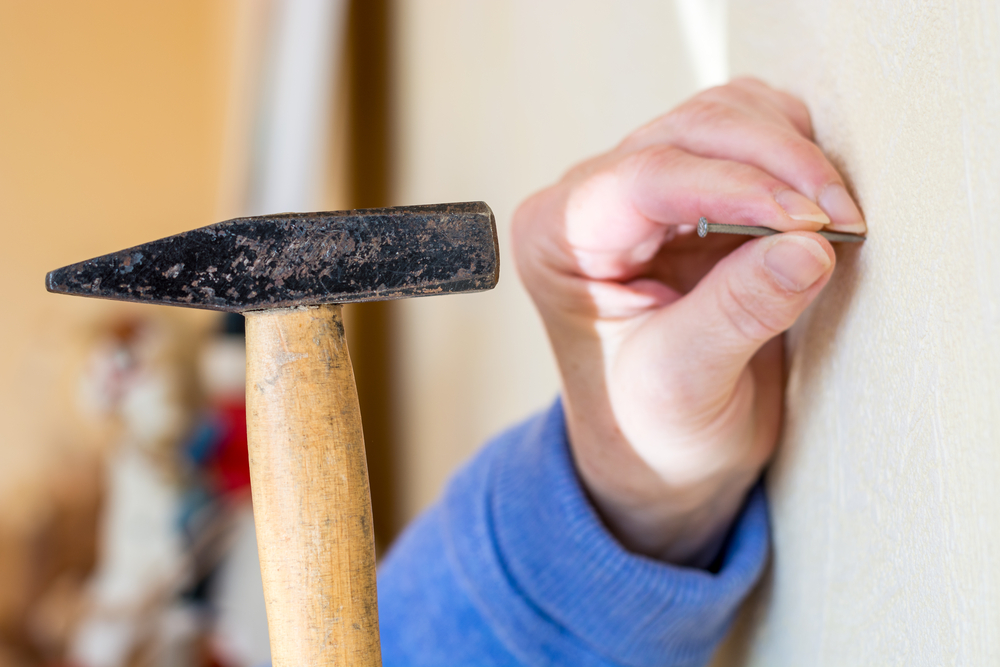
After marking the spot, the next step is to install your hanging hardware. Hammer the nails into your marked spot, leaving some of the nail exposed for hanging.
5. Hang Your Canvas

Yep, it’s time to hang your canvas print! If you’ve selected our ‘Ready to Hang’ option, your canvas will come equipped with a pre-installed sawtooth hanger at the back, streamlining the hanging process.
Simply align the sawtooth hanger with the nail you’ve installed on the wall and gently place it on the nail. Make sure the canvas print feels secure before letting go.
If you didn’t choose the ‘Ready to Hang’ option, don’t worry, all you need to do is position the sawtooth hanger at the top center of the canvas back, mark its position, and use a small hammer to tap in the small nails that come with the hanger. Then, hang as above.
6. Enjoy Your Artwork!
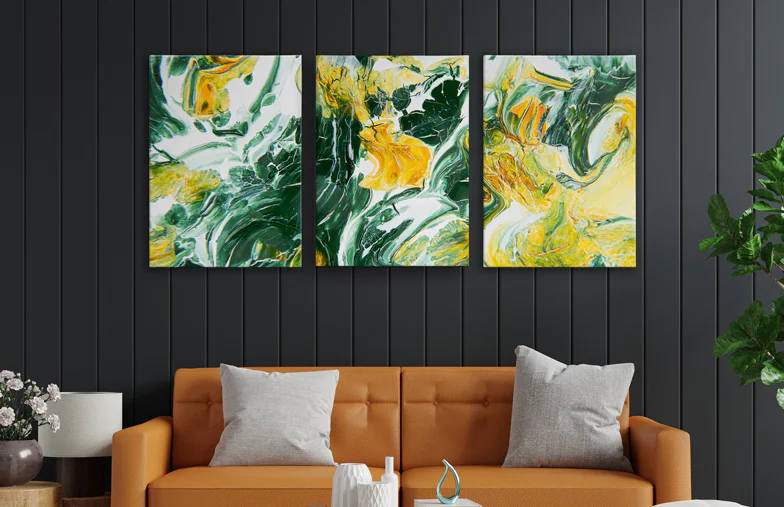
Finally, take a step back and enjoy your new wall display! Remember, there is no absolute ‘right’ or ‘wrong’ when it comes to displaying art – it’s about what makes you happy and suits your personal style.
Hanging canvas prints is a great way to express yourself and elevate the ambience of your space. With the right tools, a little planning, and a touch of patience, you’ll be able to transform your living or workspace into a personalized art exhibit in no time. So, go ahead, let your walls tell your story in pictures.

Need Inspiration?
Check out our Instagram!


